Tuesday, March 30, 2010

Chain Piecing

First, a work in progress:
In Progress
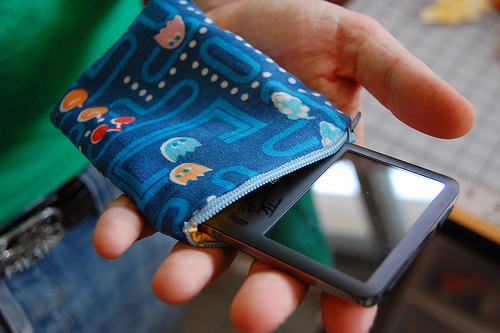
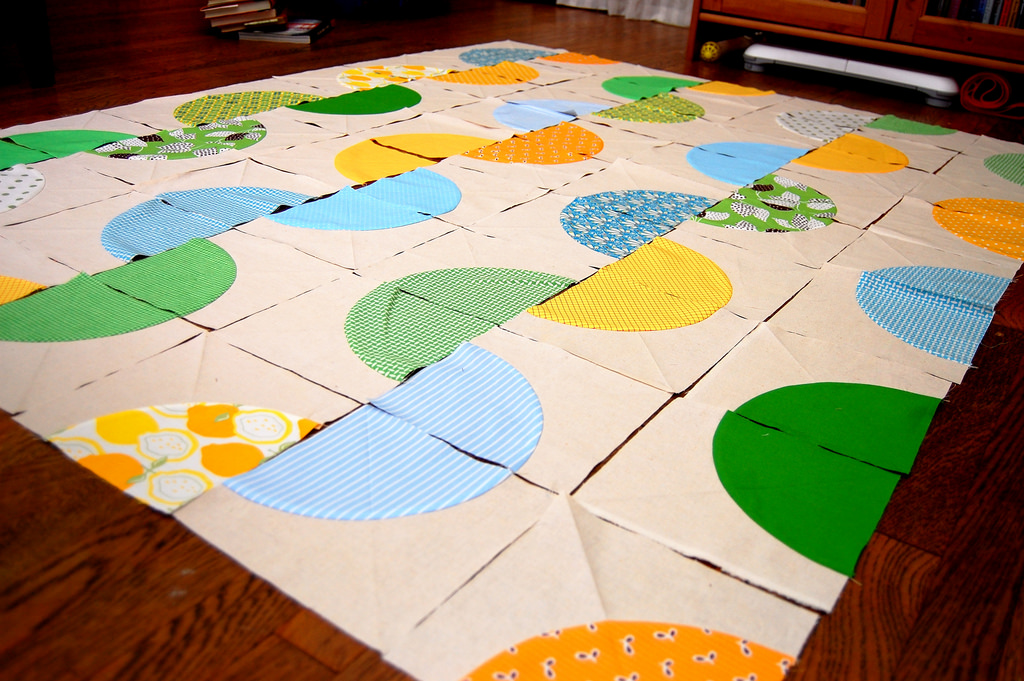
This one really will be given to a baby, I swear.  I'm not going to keep it, like the dots.

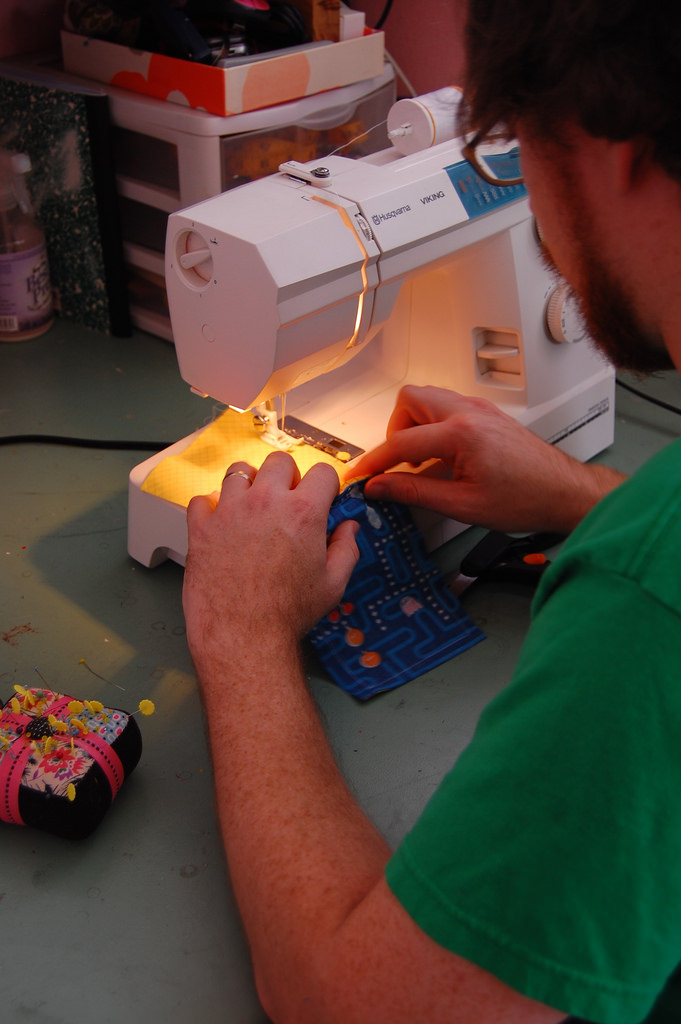
Second, I thought I would show you how to do something called chain piecing.  I'm sure most of you know how to do this already.  In fact you could quite possibly be doing it without knowing that it's called chain piecing.  It's a handy little trick that makes piecing a quilt top go faster and more efficiently.  I love tricks like this.  I like to be efficient.  A lot.

This is a good trick to use when you're piecing two or more sets of something, the simplest example being multiple rows of a quilt.

For this quilt I'm piecing together each column, starting on the left and piecing from the bottom to the top.
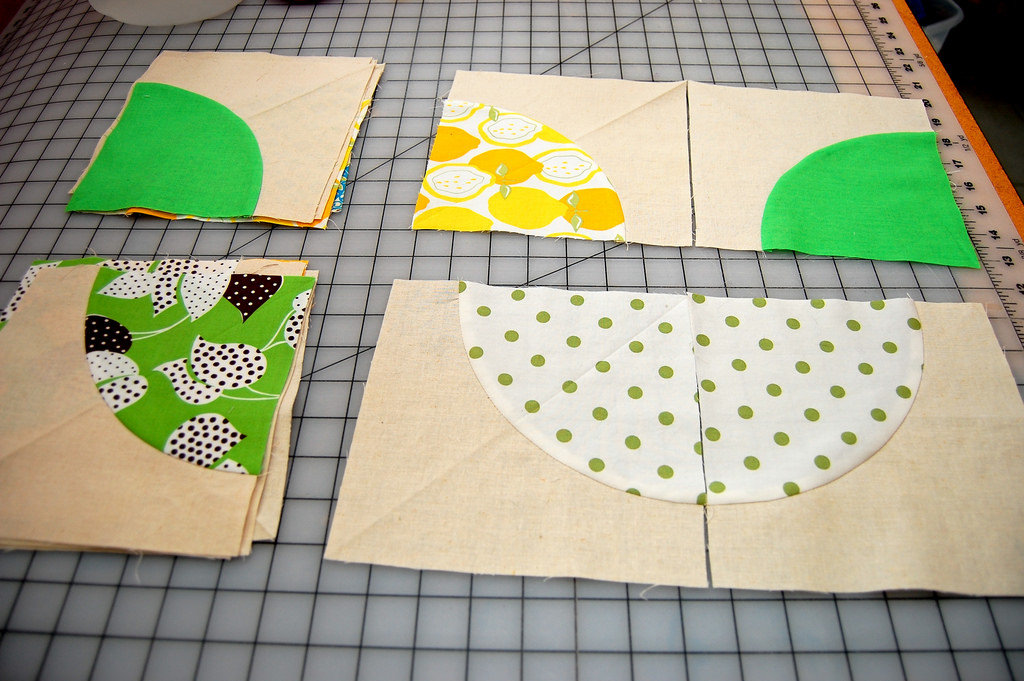
The whole idea of chain piecing is to allow yourself to keep sewing without cutting the thread after each seam.  To do this you piece together two or more rows at a time.  I'm starting with my first two columns.  The stacks on the left are in the order that I want to piece them.  We'll call them stack A (on top) and stack B (on the bottom).  To the right are the first two pieces from each stack that I'll be sewing together.
How to Chain Piece

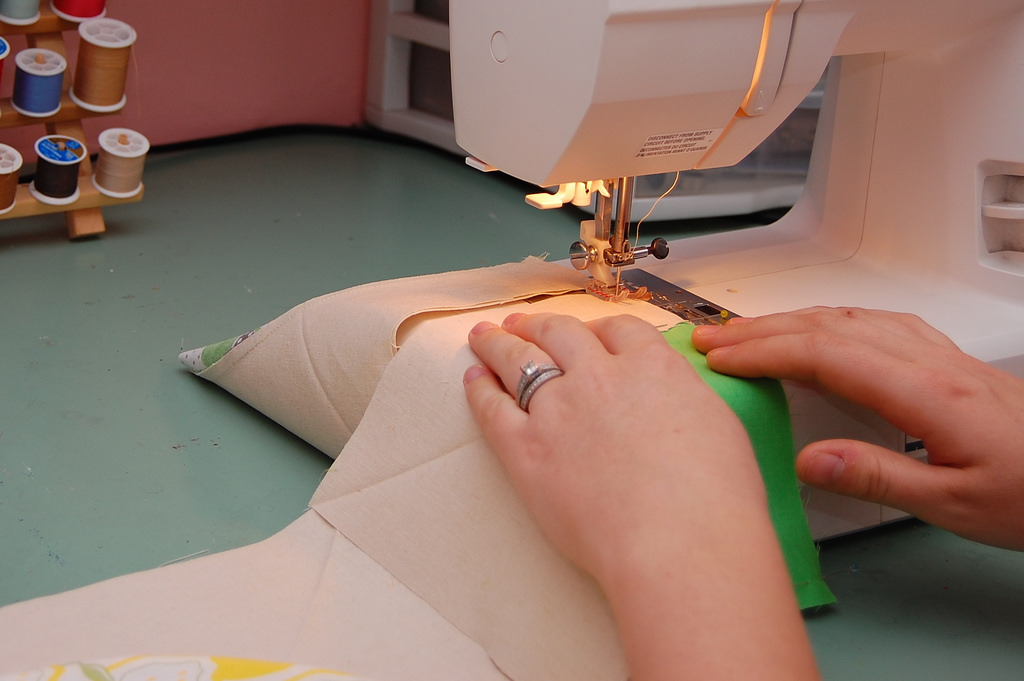
First, sew together the two pieces from stack A.  When you're done DON'T CUT THE THREAD!  Just leave it there, sitting pretty.
How to Chain Piece

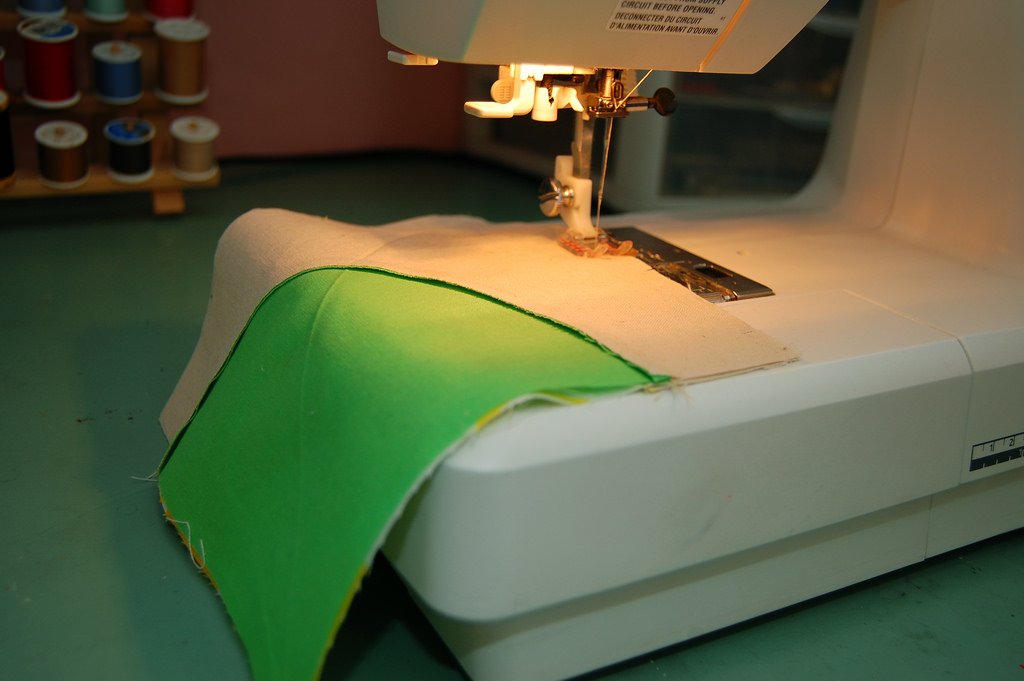
Then take the first two pieces from stack B (I know these are different than in the first photo, that's my mistake.  Nobody's perfect, right?) and sew them together.   Again, don't cut the thread.
How to Chain Piece

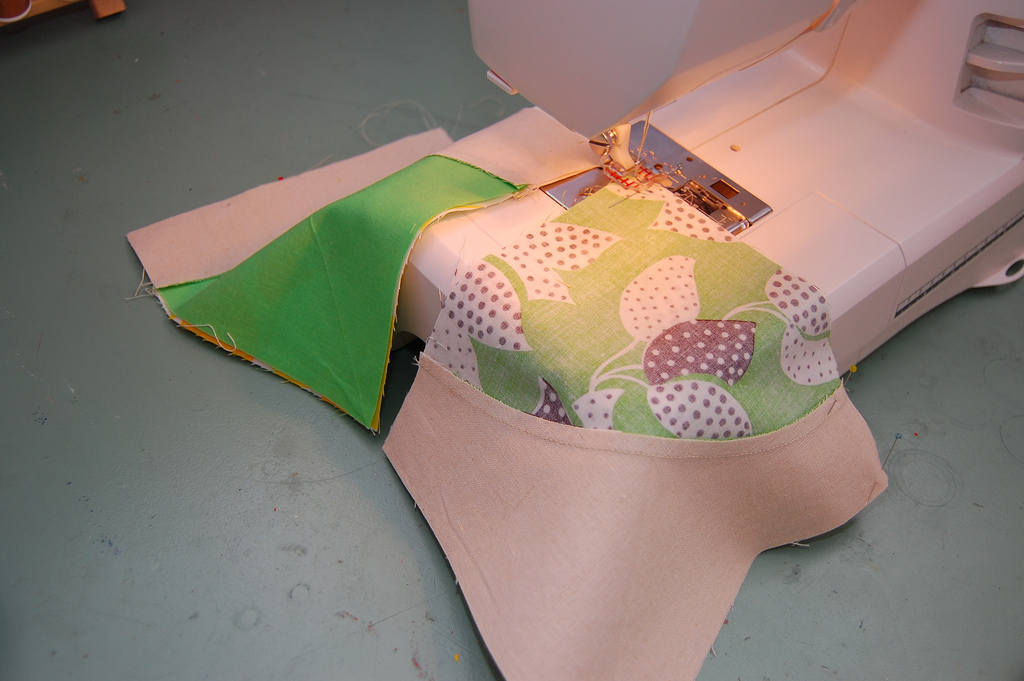
Now I've got the first two columns connected but I'm ready for another piece from stack A.  So, I just snip the little bit of thread between the two, leaving the second pair still on the machine.
How to Chain Piece

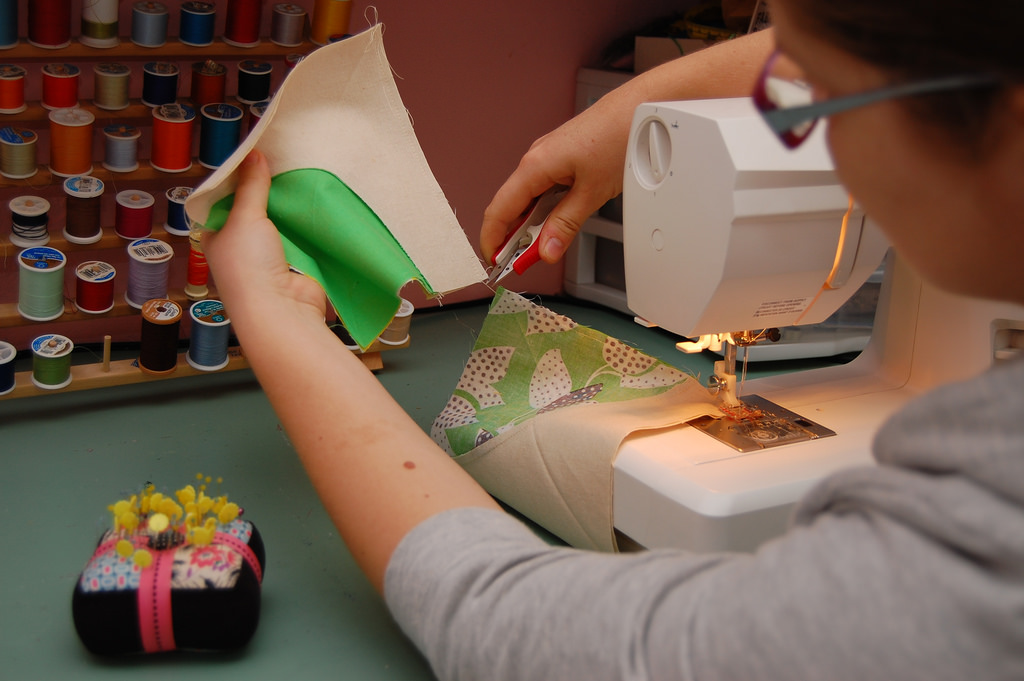
And voila, I'm sewing on a third piece from stack A.
How to Chain Piece

That's done, snip B off the back, leaving A on the machine.
How to Chain Piece

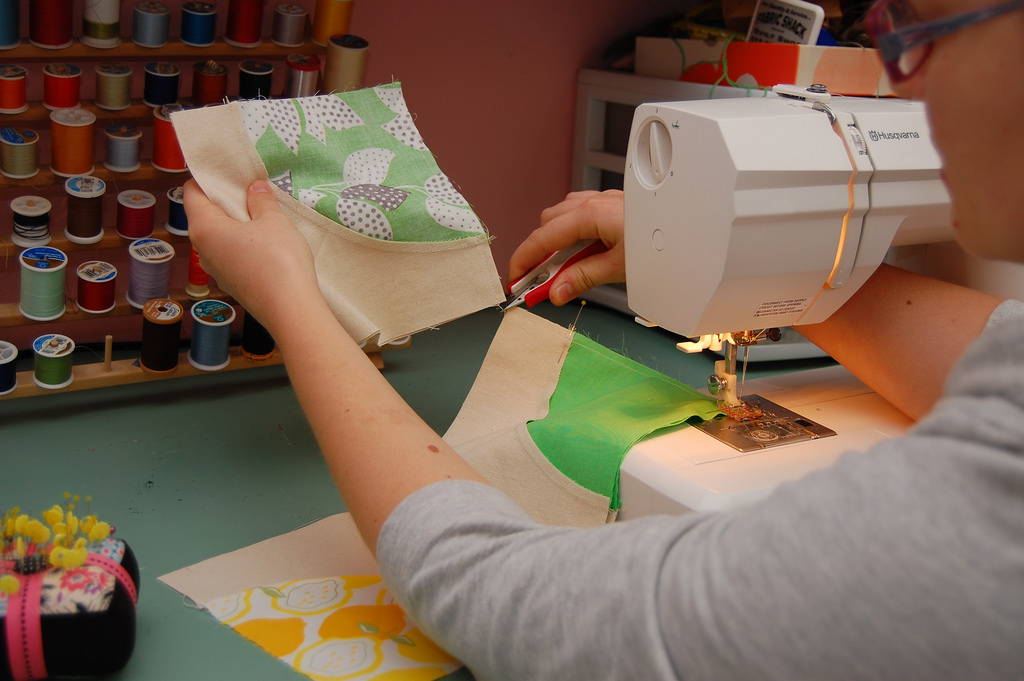
Ready to sew another block onto B.
How to Chain Piece

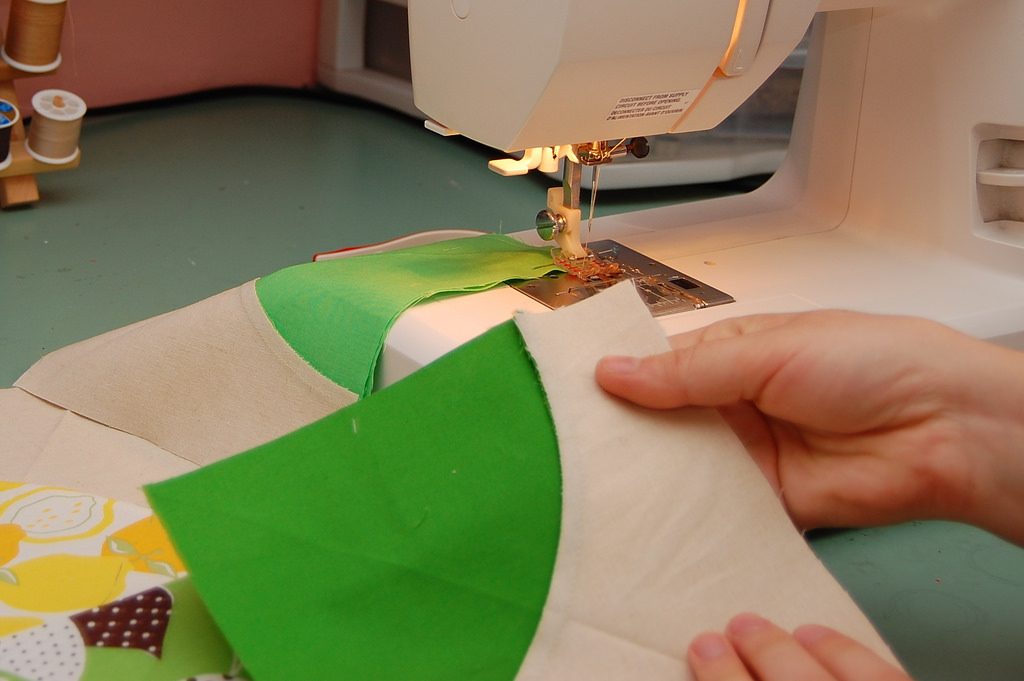
You're just leap-frogging between A and B, snipping off the end of the chain and bringing it to the front.  In theory you could do this with all of your rows at once, it just might get a little confusing trying to keep straight all of those piles and what row goes with what.  I will do it with three stacks though, especially on a quilt like this with an odd number of columns.  I don't want that last column to be left all by his lonesome with no one to be chained to.

Sunday, March 28, 2010

I'm going whole-assed.

**Update: Sorry, the link wasn't working.  It's fixed now!**

That's right!  Gone are the days of half-assed, slacker tutorials!  No more will you be left with unanswered questions because I simply didn't feel like taking more pictures or writing out proper instructions.  Never again will you be puzzled by fabric requirements!*
The Leo Baby Quilt
I have for you today, free of charge, a bonafide, whole-assed PDF quilt pattern, complete with color diagrams and all of the information you need to make your very own Leo Baby Quilt.
Download it HERE.
With any luck, this will just be the beginning.  I've got plans, internet, and they include you!  So I hope you like the pattern.  Please let me know if you have any questions!


*Just kidding.  I'm totally going to continue to give you half-assed tutorials.  I'm just going to try to mix in some grown-up patterns while I'm at it.

Wednesday, March 24, 2010

Hexagonia

It's a disease.  Where you just want to sew hexagons.  I think a lot of people have it.  I don't.

At least I didn't until I figured out a way to piece hexagons with my machine as opposed to fiddly little English paper piecing.  Hand piecing is just not for me.  I've tried it, it's ok, I just can't keep it up for the long haul.
And so:
Machine Pieced Hexagons
This is a Bee block for the queen of solids, Latifah, of LAMQG fame.

Would you like to try?  If so, I've got some treats for you!

Number 1, presenting the first ever Lady Harvatine instructional video:


I'm sorry that things aren't totally in focus the entire time.  I'll do better next time.

Treat number two is a pdf file of hexagon templates.  You can print and cut out 4", 3" and 2" hexagons, all with a 1/4" seam allowance included.

Download the pdf file here.

I hope the video is clear enough.  Please ignore my horribly ragged finger nails.
Let me know if you have any questions!

Tuesday, March 16, 2010

I am...

...in South Carolina, visiting my parents,
Applique
and working on this family heirloom with my mom.  I'll share more when I get back!

Wednesday, March 10, 2010

Candy Buttons

This was intended to be a baby quilt but now I'm not so sure.  I think I want it.
Candy Buttons
Each dot is made from a different polka dot fabric and is made using the "6 minute circle" method.  It's such a great technique, I can't recommend it enough if you want pieced circles (as opposed to hand or machine appliqued).
Candy Buttons
Each circle has a 4" diameter and is pieced into the center of an 8" square.
Candy Buttons Back
A pieced back!  I haven't really been into those lately, mostly because I haven't felt like putting additional work in.  Is that bad?  Well I'm pleased with this one.  It was somewhat improvised after Alissa gave a nice talk about improv-ing at the last LAMQG meeting.  I have to say though, too much improv makes my head hurt.  I like to have a plan of action, complete with measurements, from the get-go.  So after a few of these blocks were sewn and laid out, I broke out the tape measure to figure out exactly how I would fill in the gaps.
Candy Buttons

Friday, March 05, 2010

Harvamade iPod Sleeve

Harv has been asking for a homemade iPod case for a while now.
More Sewing
I suggested that he make one himself, with my guidance of course.
He did it.
Here you have a simply made, zippered, lined pocket expressly made for his iPod.
Good Job Harv!
Look how proud.
He has told me many many times since making it how much he likes it.  It's the little things, folks.  Especially with this guy.